Finishing the 3D-Printed Paddle Controller
Now that I’ve received the Ultimate 64 board, it’s time to finish the 3D-printed paddle controller for my to-be-built Commodore 64. And to try it out in action, I’ve ordered a copy of Commodore’s “Clowns” game on a cartridge. The case for the machine is still in the mail, so the setup is quite jury-rigged with the circuit board and keyboard sitting on a toolbox as you can see in the picture below. A breadboard is wired up to the first control port with a potentiometer and a button attached to it.

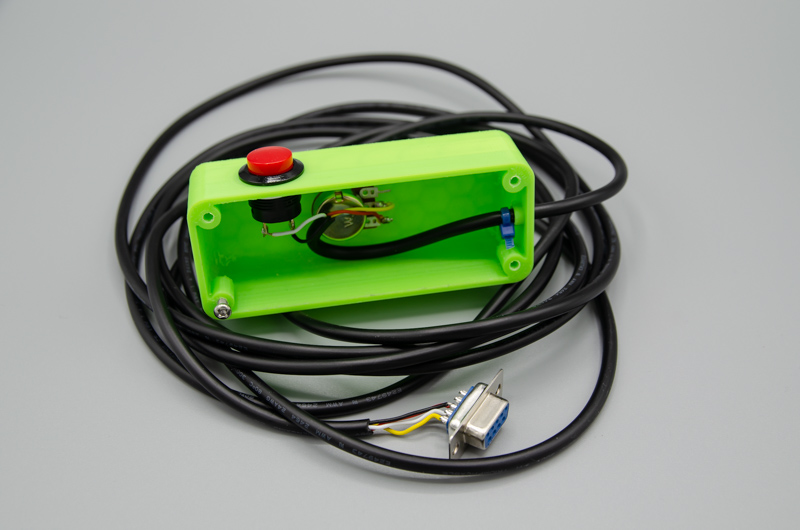
As a starting point, I tested the circuit with a small BASIC program to see whether the pot and the button can be read properly. That went off without much of a hitch. With that validated, the next step was to assemble the controller. For my last controller post, I had finished most of the paddle with the exception of the wiring, so what was left was to solder a cable with 4 wires to the button and pot on one end and to the DE-9 connector on the other end.

The button needs to be connected between pin 3 and ground (that’s the same connection that a joystick uses to signal “left”). The pot is between pin 9 and +5V (i.e. pin 7). Some designs I found online also use a capacitor to ground with the pot, but none was required to make it work for my setup.
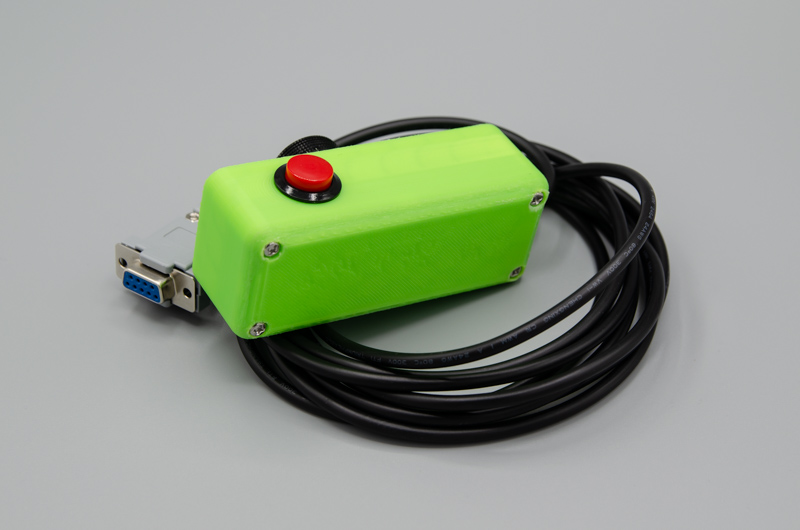
With everything wired up, it’s time to screw the enclosure together and to put a knob onto the pot. I ended up using a simple knob from Sparkfun. The result shown from the front and the back is in the pictures below.


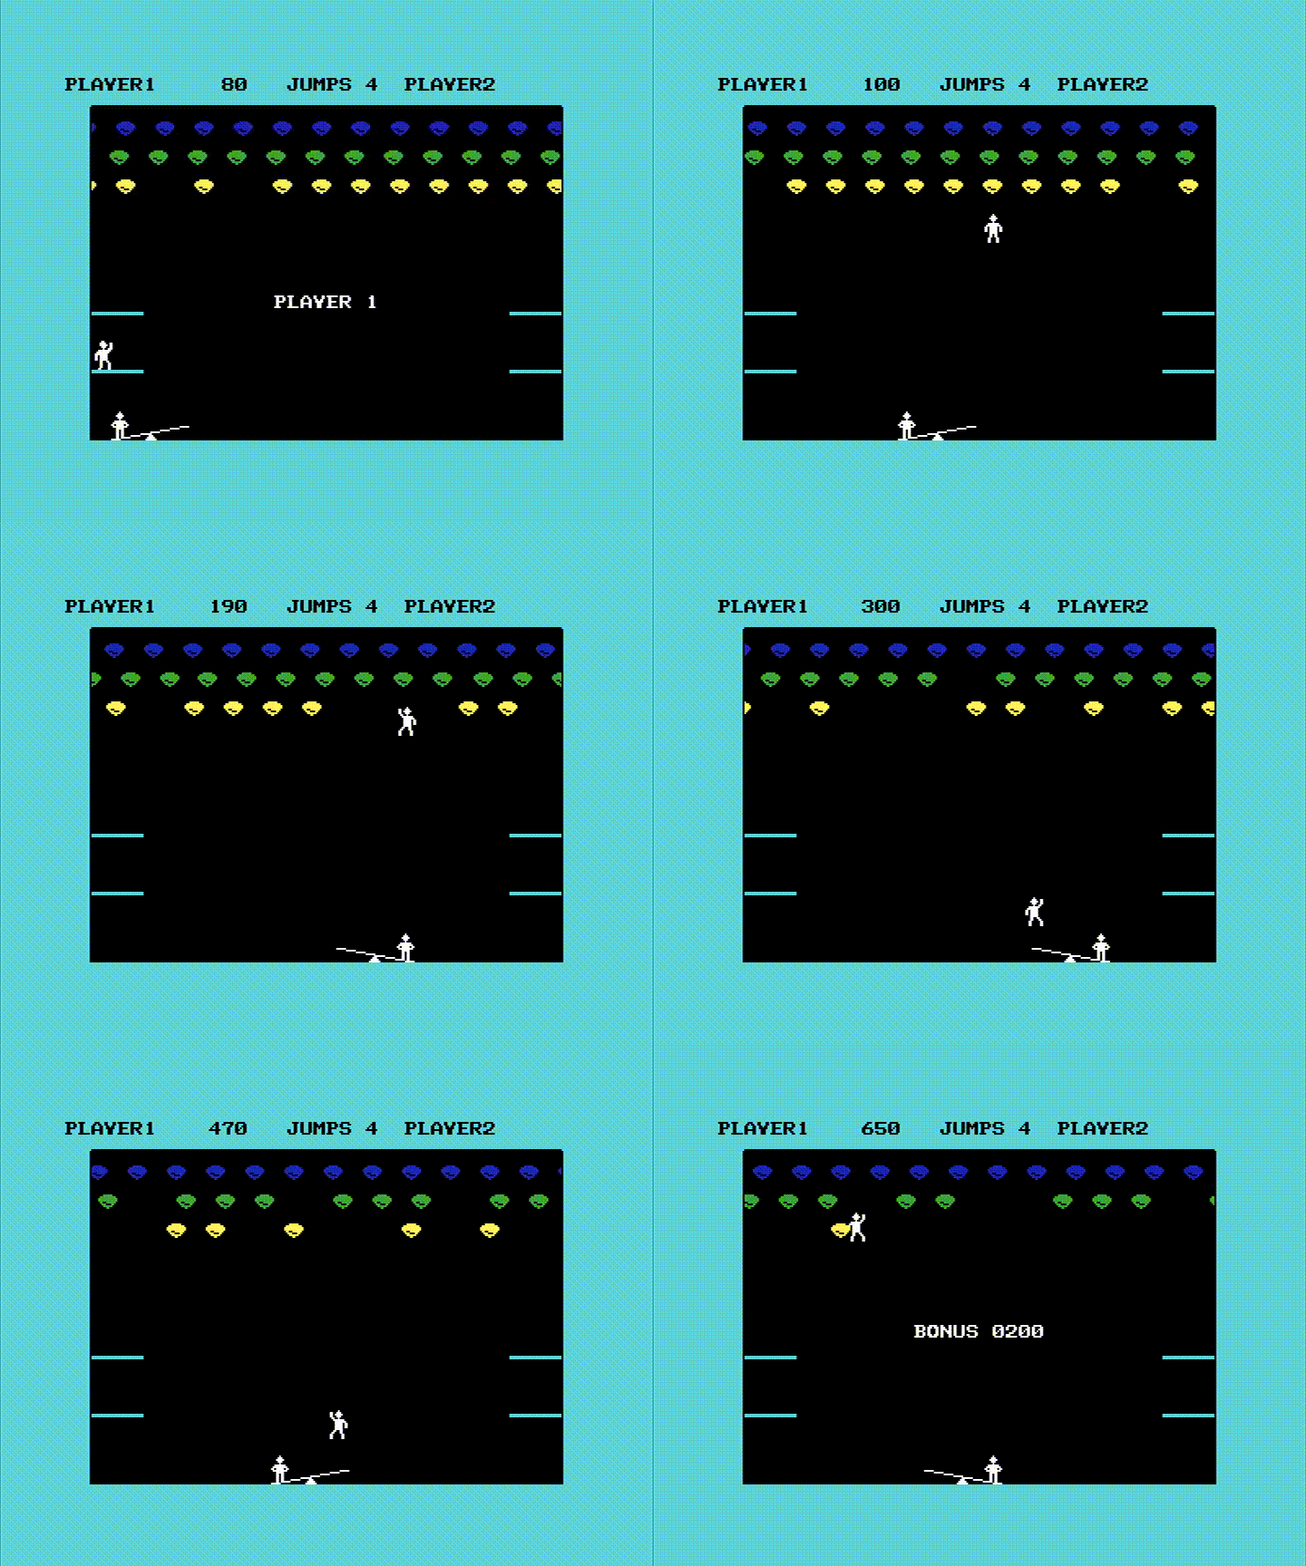
Now it’s time to try it out. Clowns is a Breakout-style game. The button on the controller starts the game, and the pot moves the seesaw at the bottom of the screen. Below’s a quick GIF of the 8-bit action.

➤ Other C64 posts:
- A VIA for the Commodore 64: Revised PCB
- Getting my VIA Expansion to Work with the Commodore 64
- A Modern VIA Connected to a Commodore 64
- Writing a Commodore 64 Game in the 2020s: a Retrospective
- Small Cab Hustle Update
- Now with Sound: Cab Hustle for Windows
- Porting my Commodore 64 Game to Windows
- Cab Hustle is Now on Itch.io
- Cab Hustle is Now Available!
- Cab Hustle: The Latest on my C64 Game
- Recent Progress on “Cab Hustle”
- Cab Hustle: My New Game for the Commodore 64
- C64 Build Video
- 6502 Scripting: a Tcl Shell on the Commodore 64
- Assembling my Commodore 64
- Ultimate 64
- 3D-Printing a Joystick and a Paddle Controller (While Waiting on my C64 Parts)
- Building a Commodore 64
Subscribe via RSS